About Inventor
Autodesk Inventor has been around as a popular 3-D design tool since 1999. The company Auto-CAD, owner of Inventor, was started in 1982 by John Walker. Inventor can create machines of all type, with hinges, coils, or even with decals on the side, and some of the creations made in Inventor seem unrealistic! The precision of machines allows humans to create what they couldn't before, and expands the boundaries of what is possible.
Below I will explain how I made a widget on Inventor.
Below I will explain how I made a widget on Inventor.
Widget Design
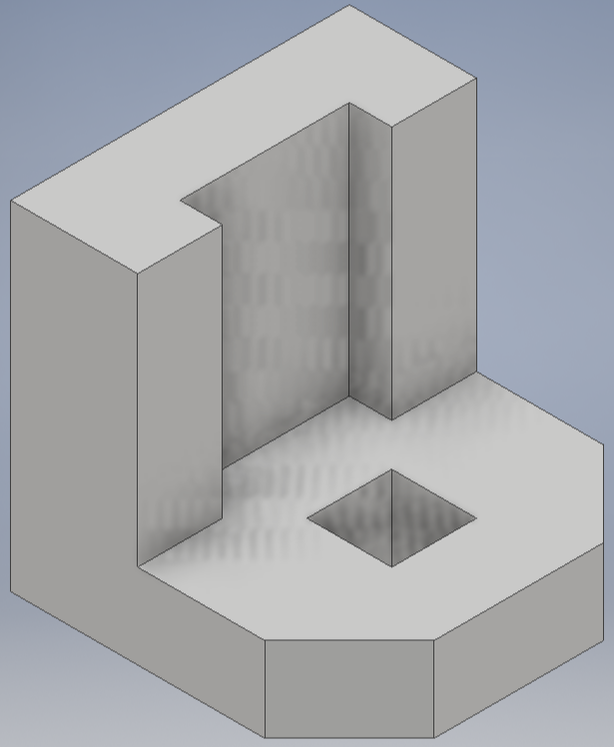
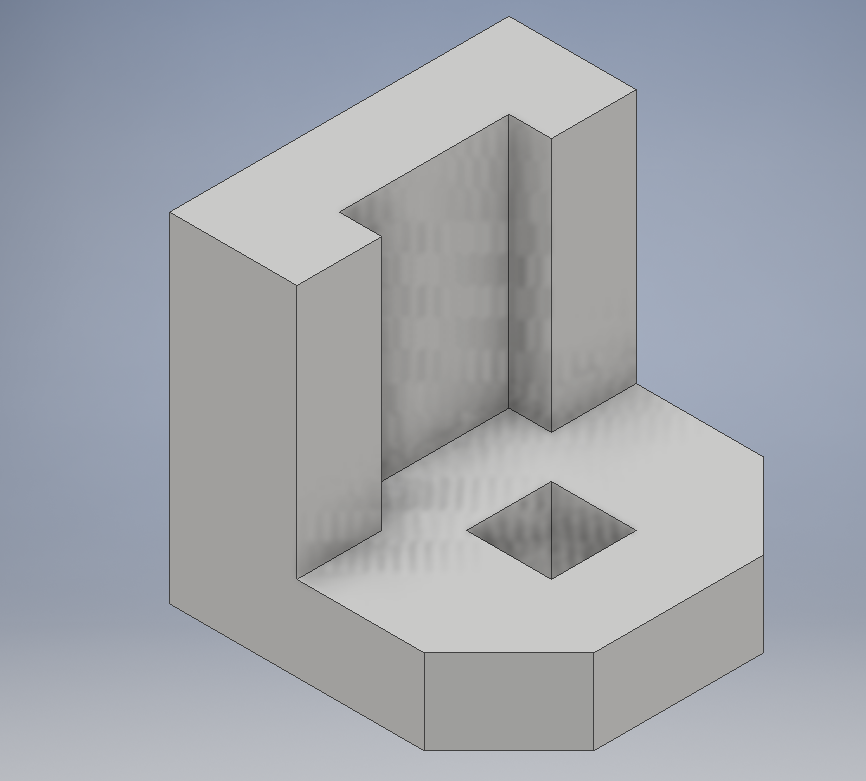
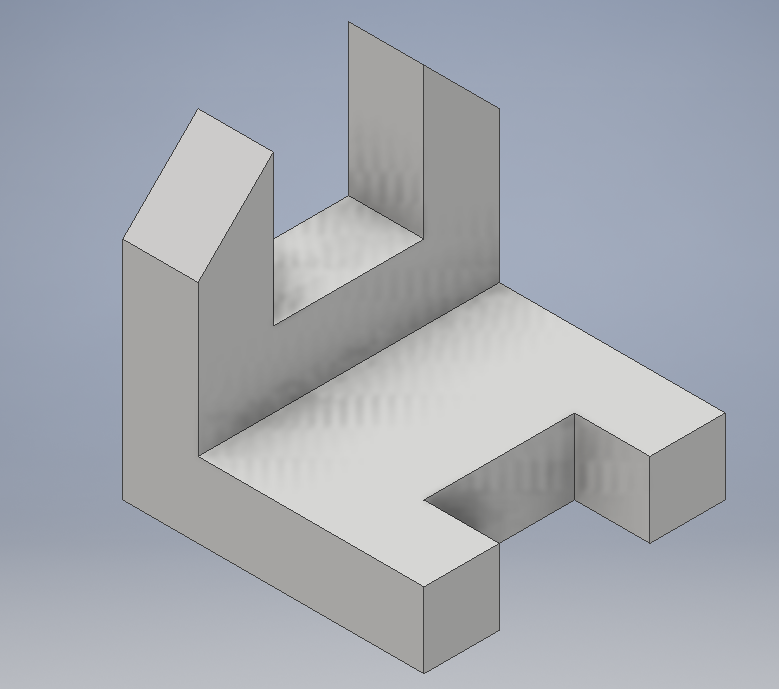
Above is the finished product of my widget. Below, I will explain how I got to the finished product.
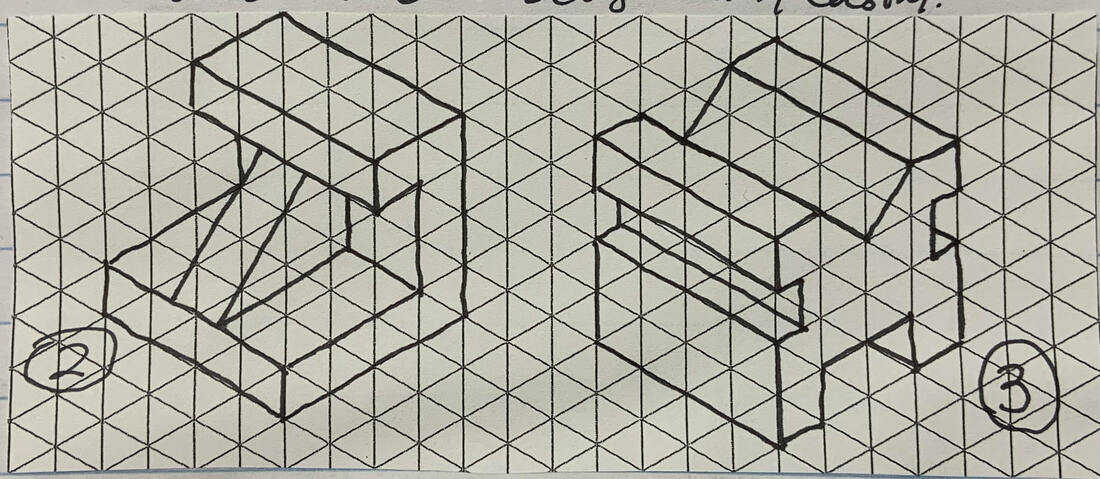
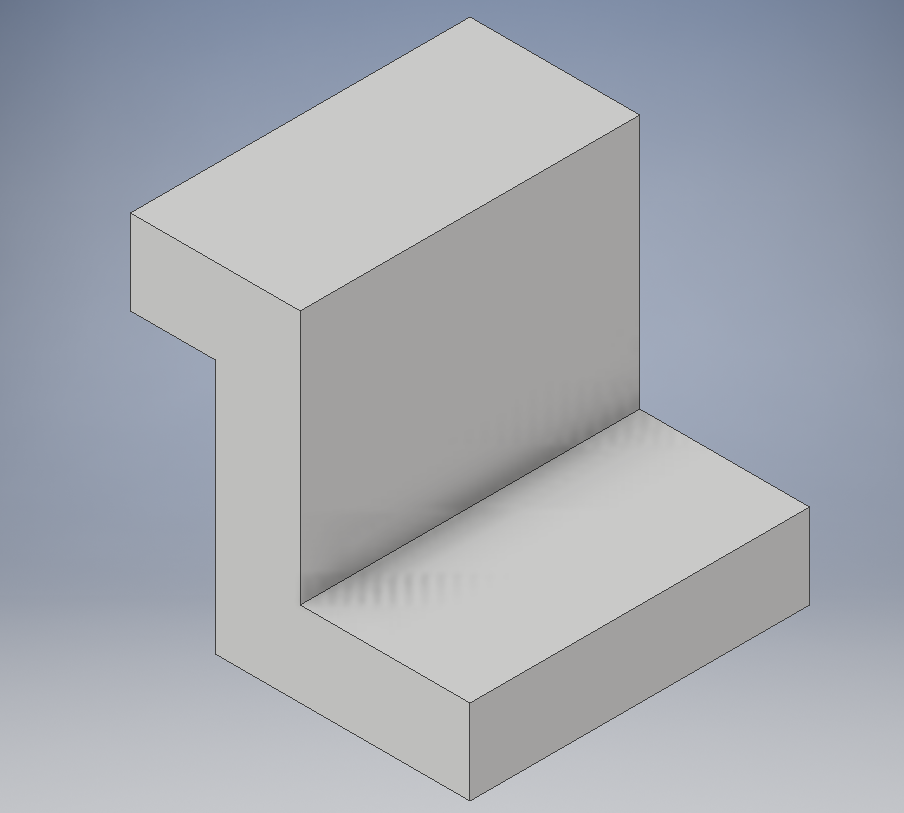
Sketching on PaperFirst, I sketched the widget on a isometric graph, so that I would know the correct dimensions. These sketches are not of the widget I will be explaining, but of two other widgets.
|
|
|
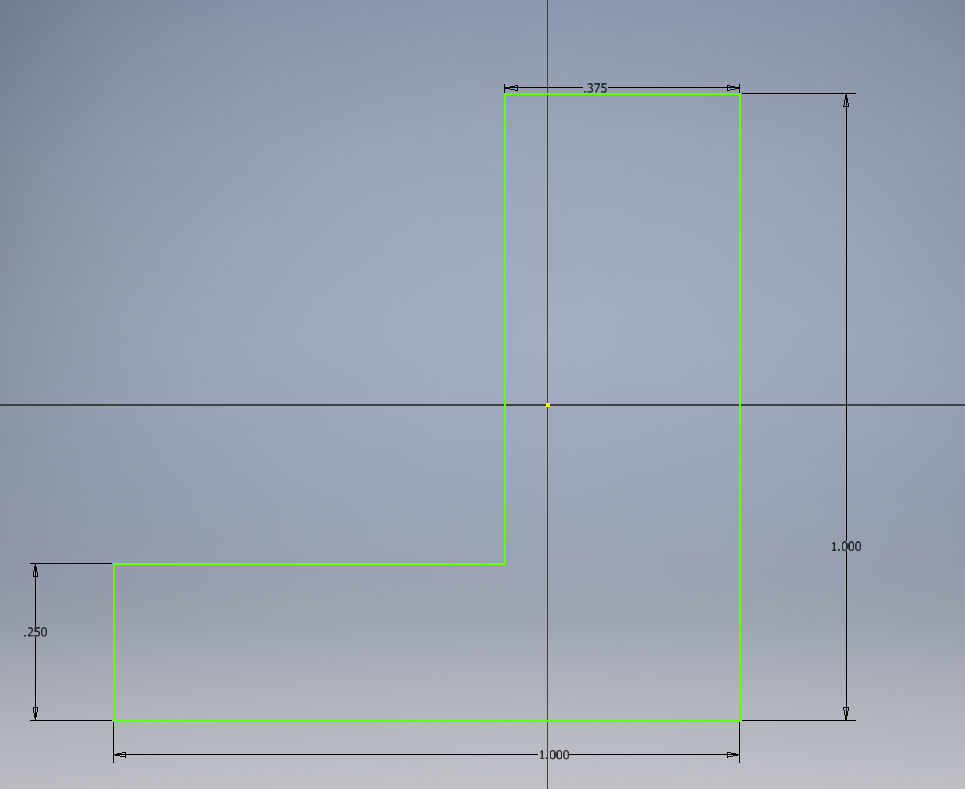
First Sketch in InventorI drew this sketch as the start for the entire widget on the XY plane, as that is the plane you should always start on. After I used the line feature to draw a rough sketch, I then used the dimension feature to put in my preferred measurements.
|
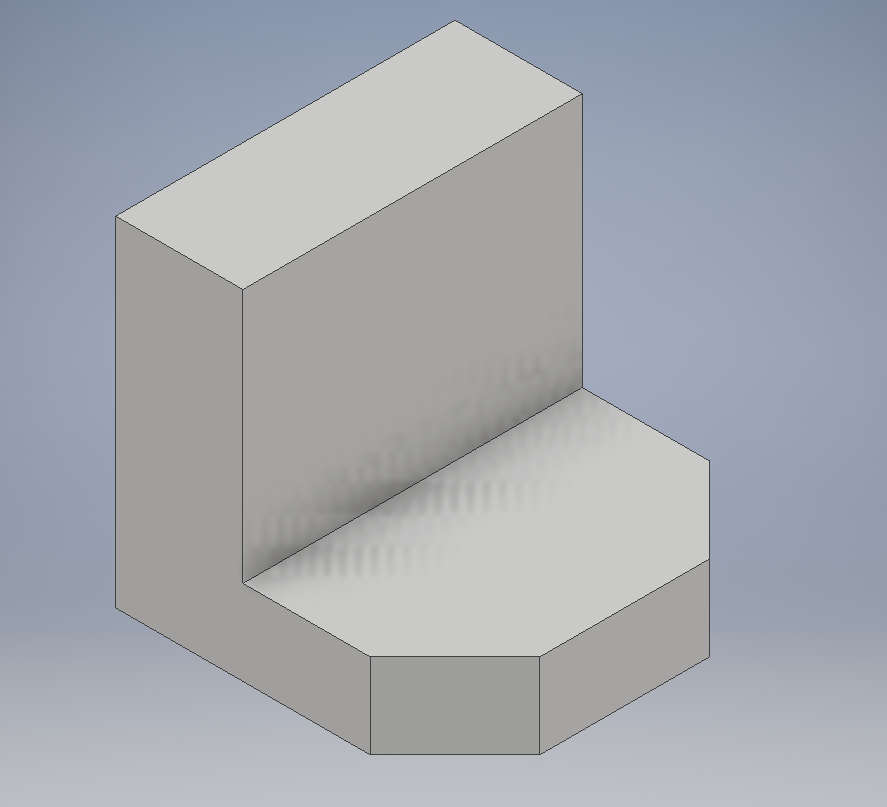
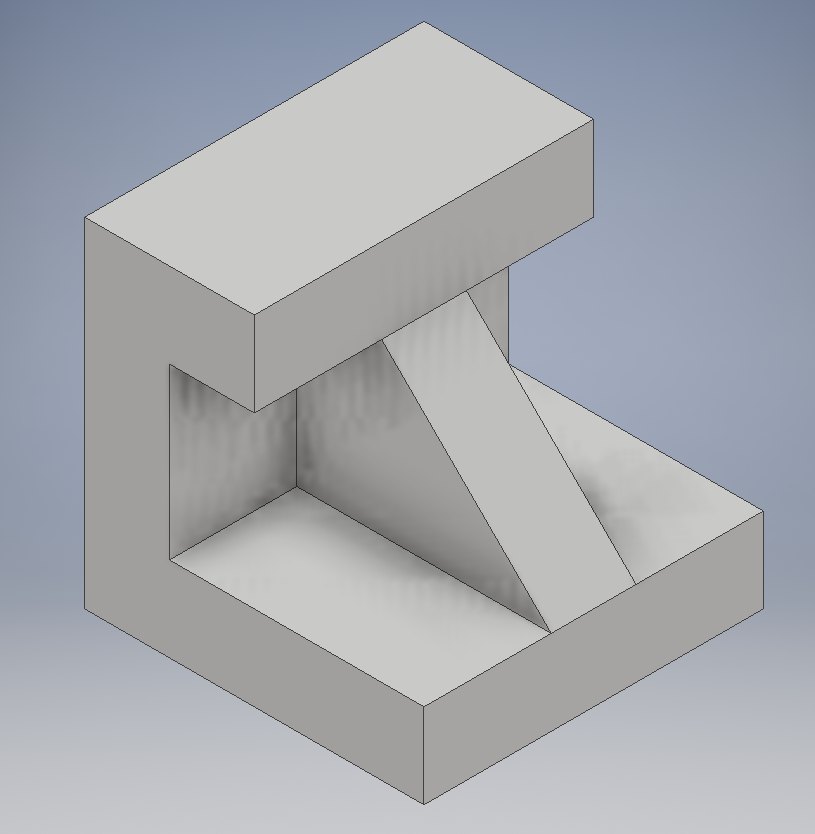
Cutting and ExtrudingAlthough this next picture might seem like a big jump from the previous picture, very few things were done. After finishing the 2-D sketch above, I used the extrude feature to extend the sketch out 1 inch. Then, I sketched two triangles on the base. I used the extrude feature to extrude inwards, effectively cutting off the triangles from the widget, making what you see on the right.
|
|

|
Cutting a HoleThis step was relatively simple. I sketched a small hole of the dimensions I wanted onto the base, much like I did with the triangles, and used the extrude feature to cut out the hole.
|
Final ExtrusionFinally, I sketched a rectangle of the dimensions I wanted onto the jutting wall on the left of the widget. I then used the extrusion feature to extrude inwards, but not all the way, making a small indent. This was the final step, so you'll notice that the picture on the right matches the one on the top.
|
|

Other Widgets
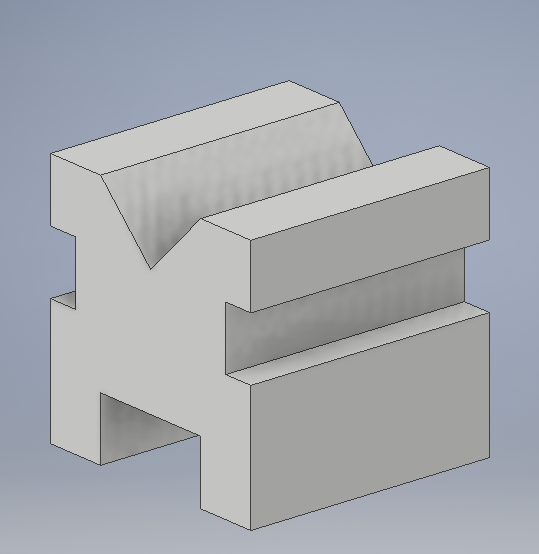
The widgets above are the other widgets I designed, however, the only widget I will be showing how to print will be the last one, the one I showed how to design.
3-D Printing
|
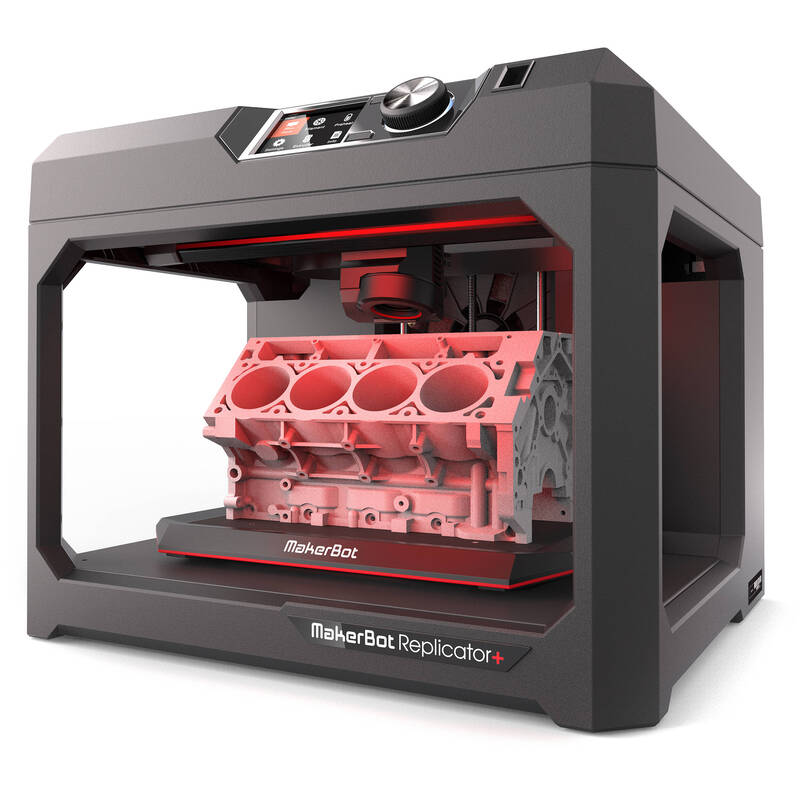
Below, I will show you how to 3-D print the widget using Maker-Bot. The 3D Printer we will be using is the MakerBot Replicator, as shown at the right.
|
|
Moving The File
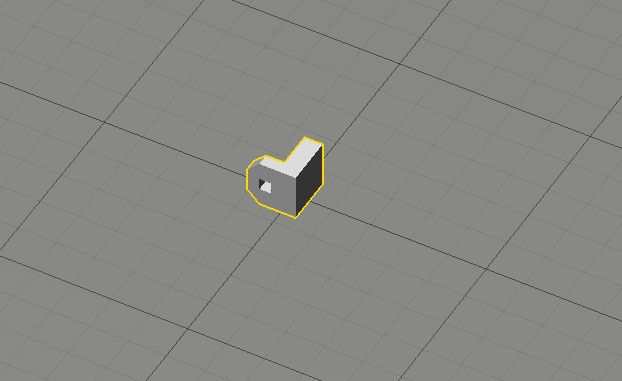
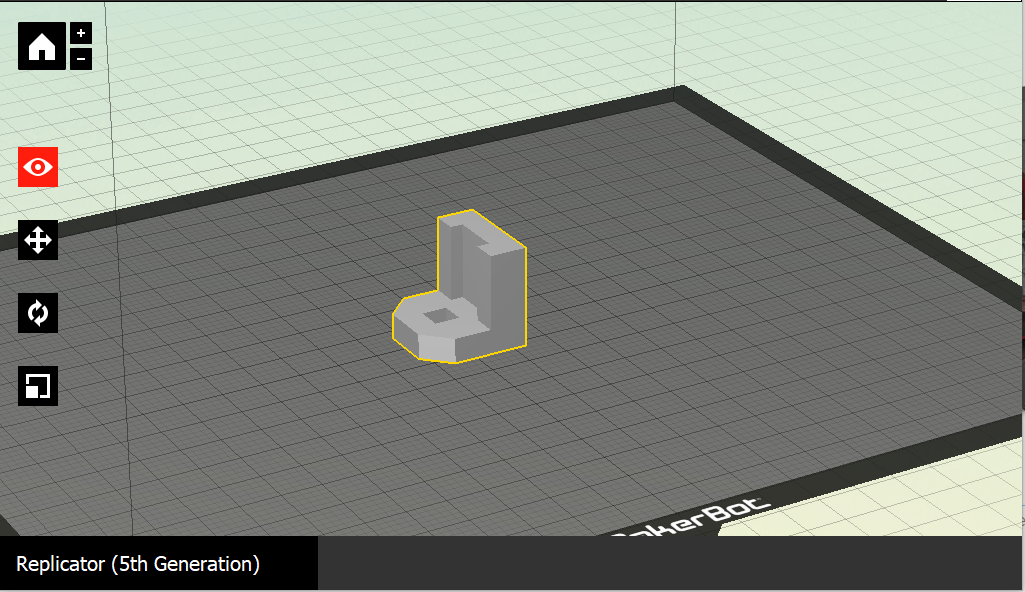
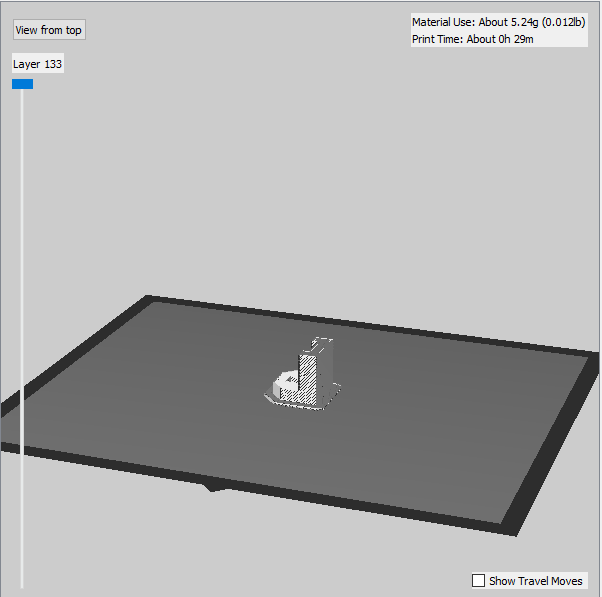
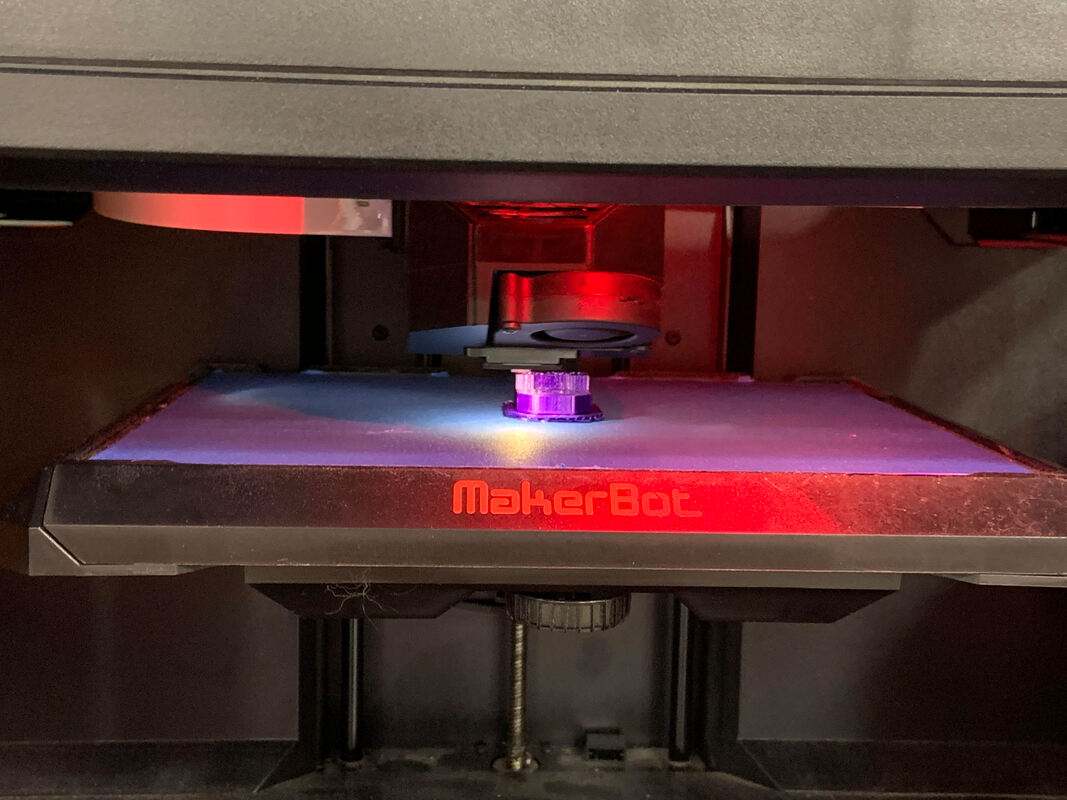
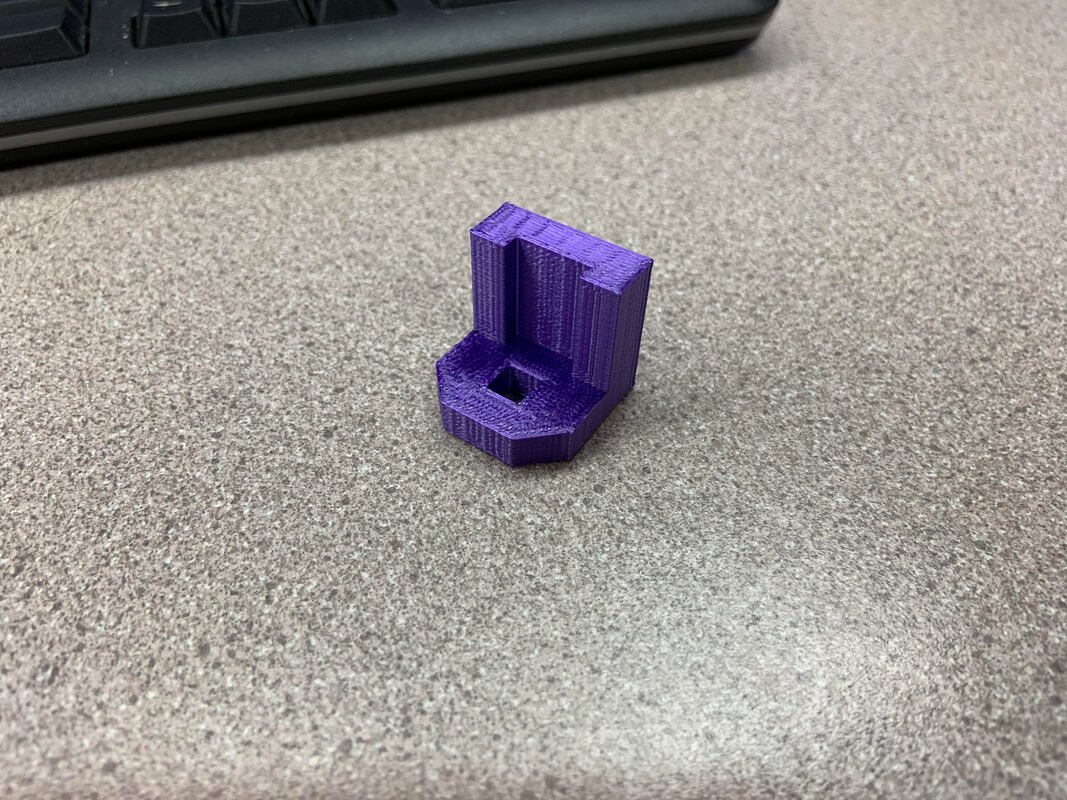
First, export the widget in CAD format to your H-Drive. Make sure to change the format to .stl to make it compatible with Maker Bot Replicator. Go into the Maker Bot software and Add File, keeping the size. By this point, you should be at the first picture. Rotate the widget until the widget needs no supports. This means everything will be built upon itself, nothing is hanging. Go into the scale and enter 1000% to scale it up to the right size. Now you should be at the second picture. Click the settings and select Smart Extruder+. You can also preview the process of printing by pressing the preview button, as shown in the third picture. You can move through the steps with the bar on the left. The fourth picture is of the widget printing. As you can see, the machine is building upon the parts already there, so there is no need for supports. The final picture is of the widget finally printed out. There will be a small base that you can easily tear off the widget with no fear of damage and scrap. As long as you follow the correct steps, everything should come out exactly right.
Reflection
Going into this project, I didn't have a lot of knowledge about Inventor. During this short period of time, I learned how to design basic things on Inventor, I learned how to turn a digital projection into a real plastic widget, and the many mistakes I made along the way taught me to be careful and detailed with what I do. I also learned how to use the Maker Bot software. Although I would've preferred to have made no mistakes, my mistakes taught me things that I would not have learned otherwise. I feel proud of my accomplishment. As Albert Einstein said, "A person who never made a mistake never tried anything new." I tried something new, I made mistakes, but in the end, I came out happy with my final product.
A person who never made a mistake never tried anything new.
-Albert Einstein
