Design Idea
Illustrator
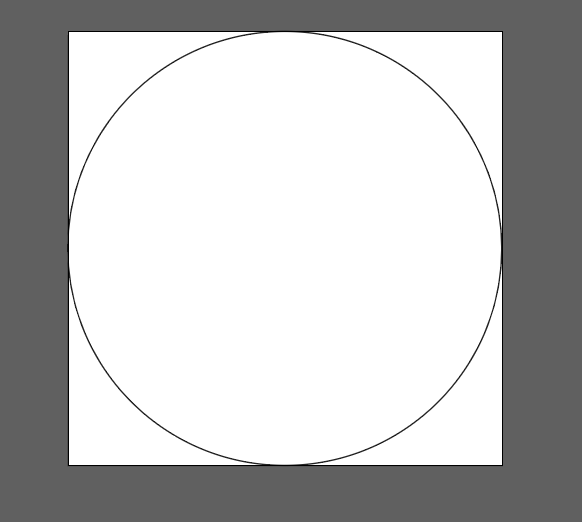
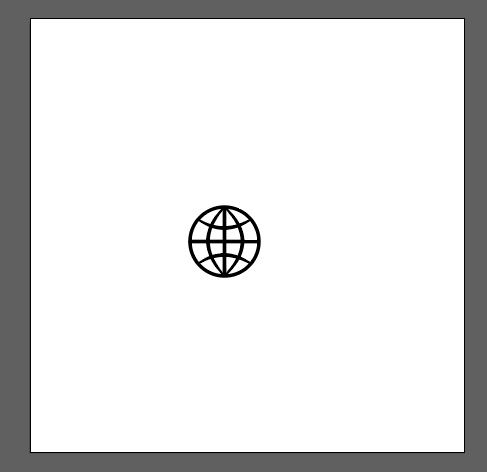
After sketching out my design, I created it on Inventor. I put all the images and shapes I would need onto the canvas first, creating the first picture. Then, in order to print out on the vinyl cutter, I created separate documents, each one with a different part of the design. The second picture was the circle that the other two designs would be put on, the third picture was the main design, and the fourth was a small internet logo that would be placed inside the head.


Vinyl Cutter
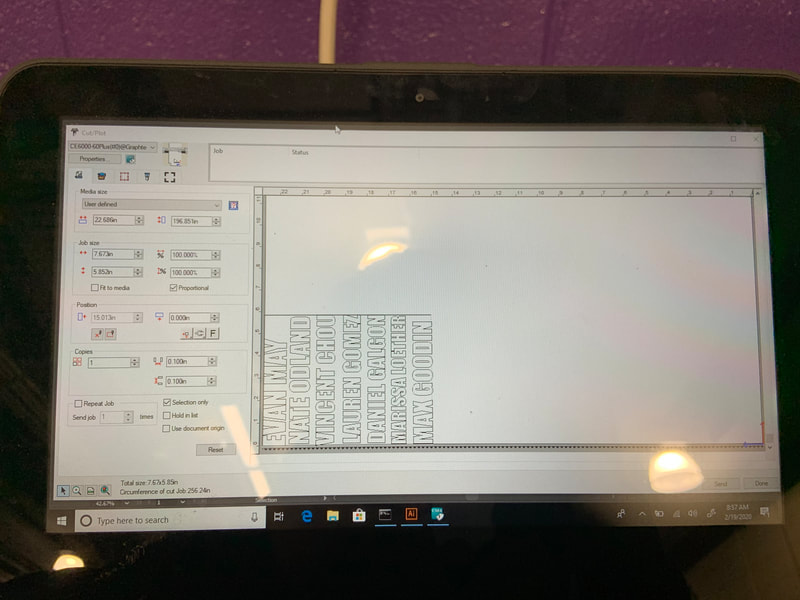
To cut out your designs, you would move the design from Illustrator to the program on the computer connected to the vinyl cutter. Below is a picture of the program, albeit with a different design. After making sure the vinyl cutter's feet and the computer are ready to go, you can start cutting. After your designs are all cut out, with a sharp blade like a dental pick, a flat edge like a credit card, and transfer tape. You can put the design on a surface of your choosing.
Reflection
I didn't learn that much during this rotation, but I still learned some things. I learned that creativity has no limits, and I learned this because placing one vinyl design onto another never occurred to me. Being able to put one design onto another really expands your horizons from when you might've thought you could only use one color. I also was able to familiarize myself with Illustrator even more, and this might help if I ever stumble across Illustrator again in the future.
