In this page, I will be describing how I made a 3-D printed phone holder, from the start of the idea to the creation of the final product.
Design
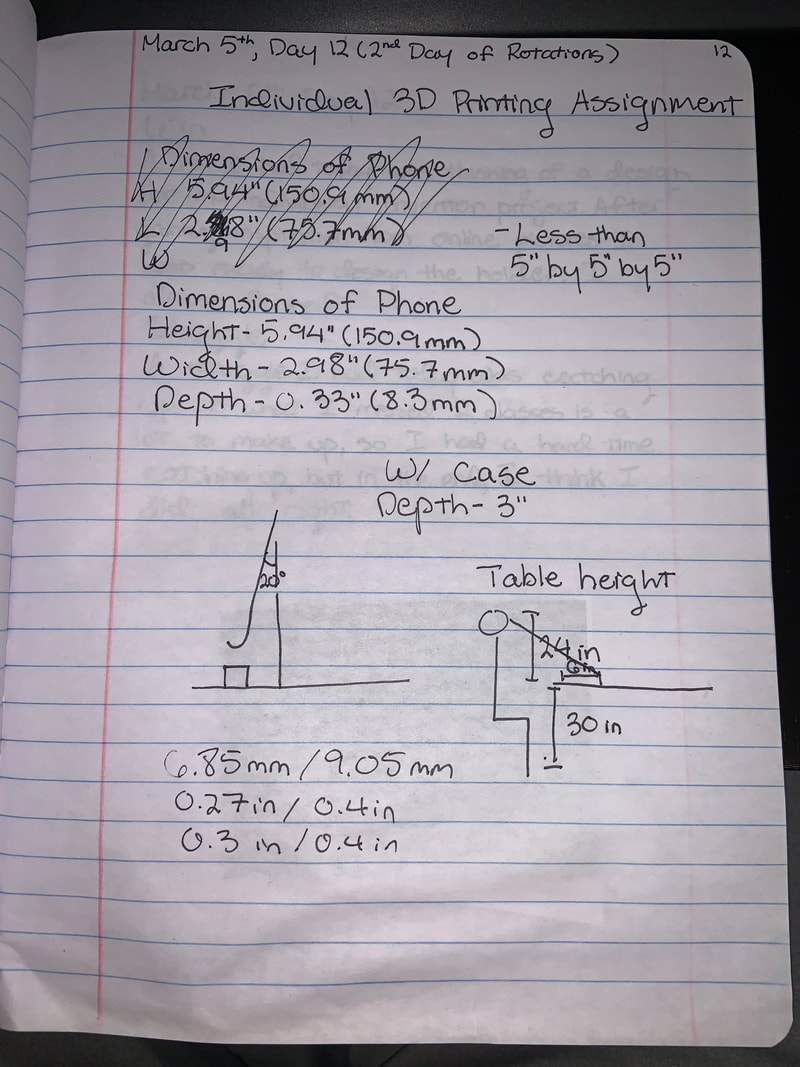
After deciding to make a phone holder using a 3-D printer, I needed to design my phone holder and research the needed dimensions. Looking at online phone holders, I decided to make something simple. However, I wanted to make a charging port so I could charge my phone on the holder. On Apple's website, I was able to find my iPhone's dimensions, and I also found the dimensions of my phone with my case to ensure that the holder would fit my phone. Below is a picture of my research/idea page.
Using Inventor
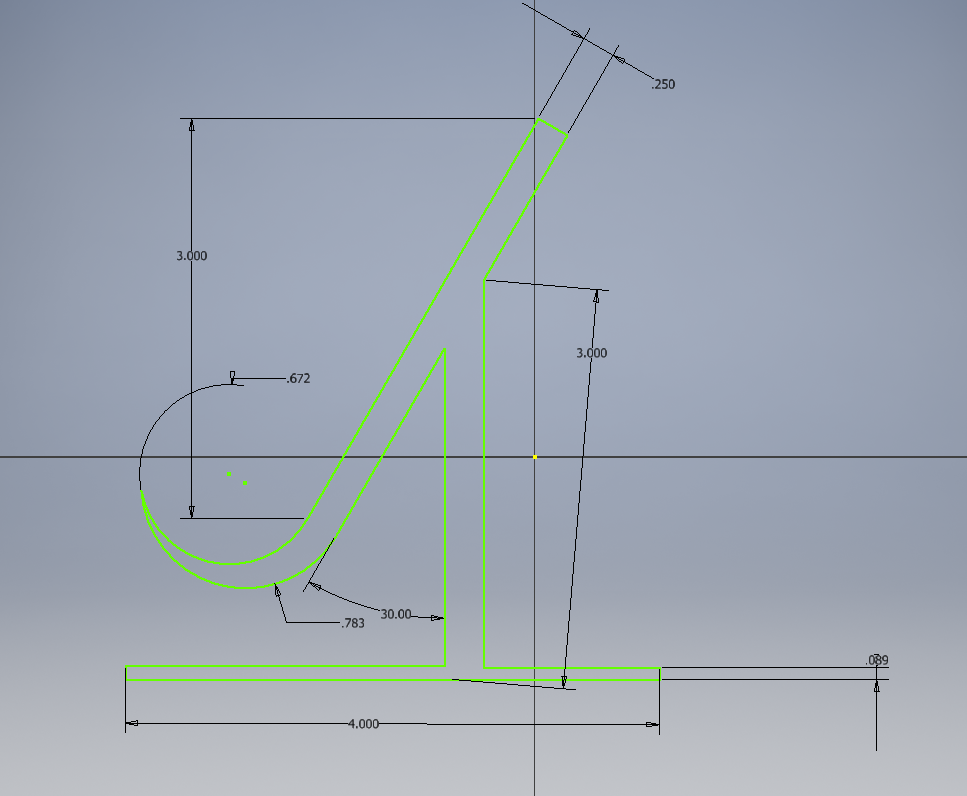
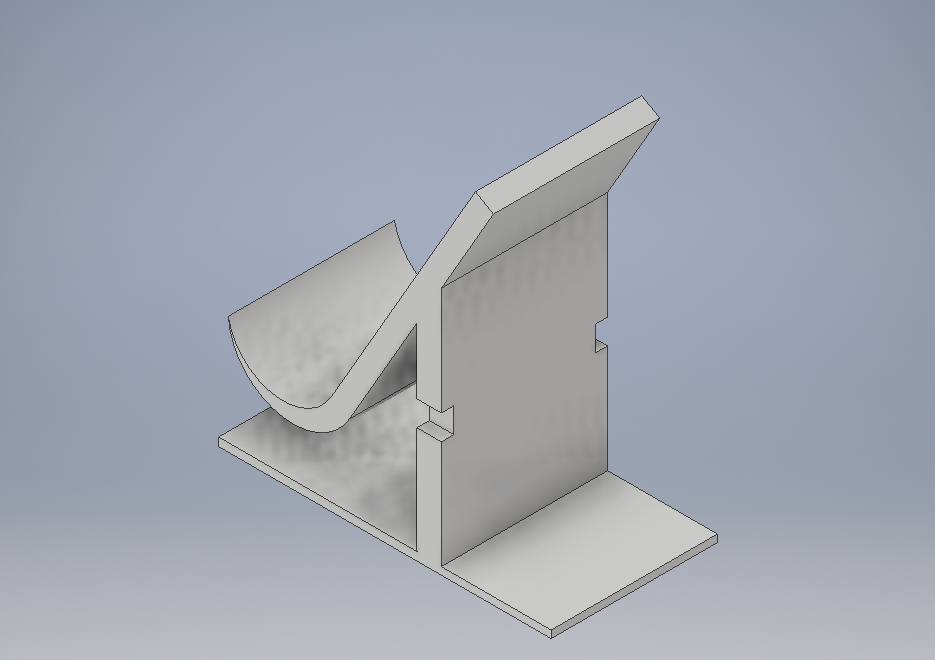
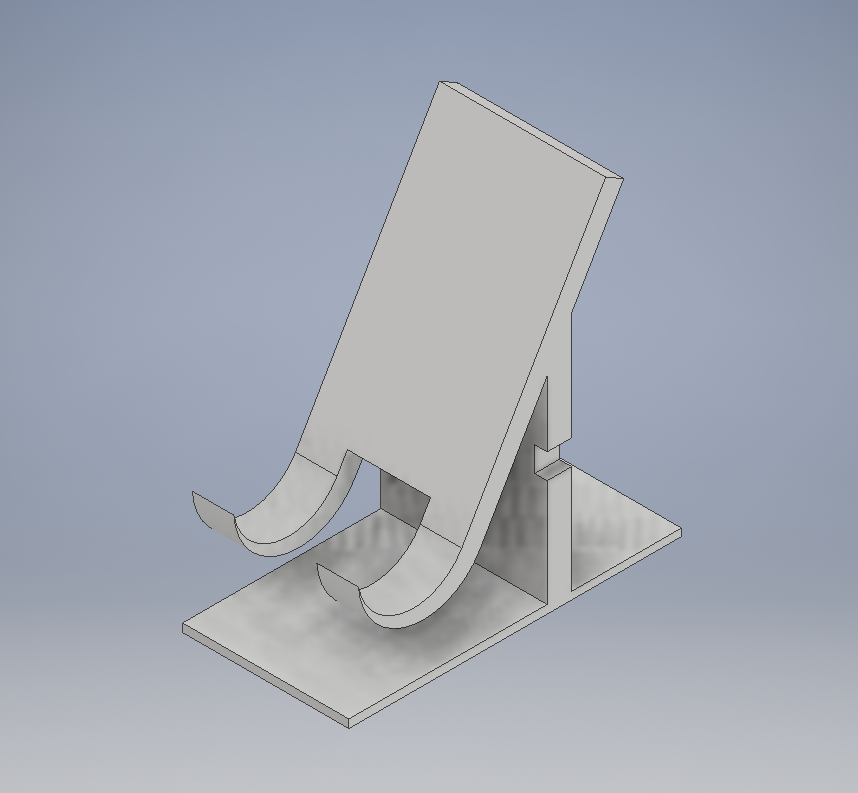
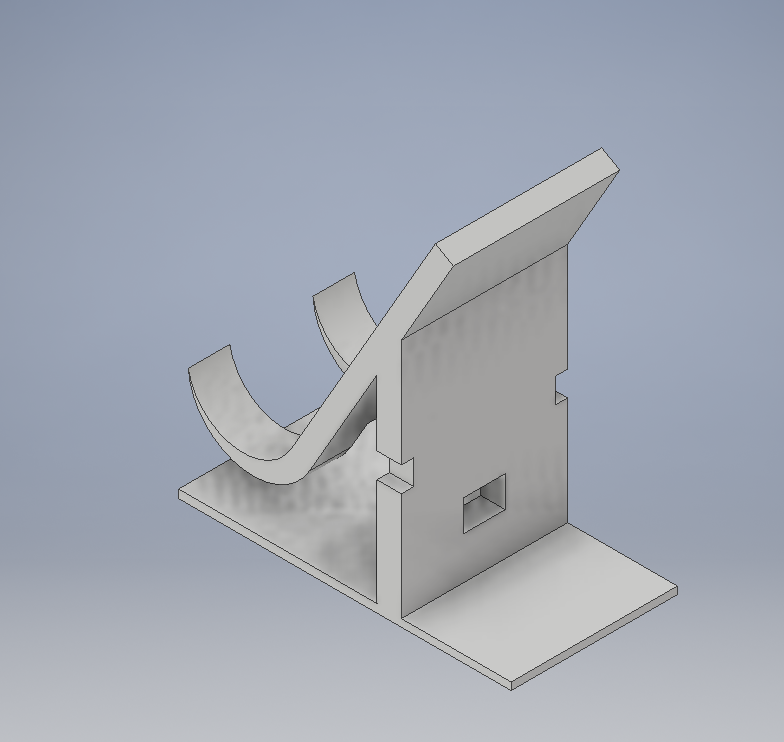
After fully designing my phone holder, I was ready to create it in Inventor. Making it was more difficult than I expected, and I changed many things along the way, first and foremost, the small box you can see up above for the charging cable to go through. I determined it was not necessary and put in other features to allow charging. Below I included pictures of my design from start to finish. I ended up putting a hole in the stand's bottom for the charging cable to come through as well as a small hole in the supporting wall-like structure. Due to the thickness of the plastic, I assumed the holder would be sturdy enough to hold my phone's weight. While making the phone holder in Inventor, I used many tools including, but not limited to, extrude, 2-D Sketch, Cut, and Dimension.
Getting Ready for Printing in MakerBot
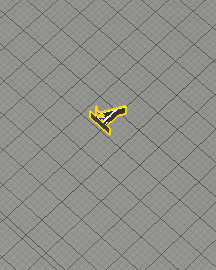
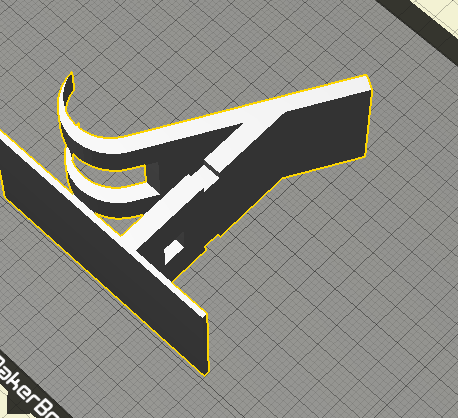
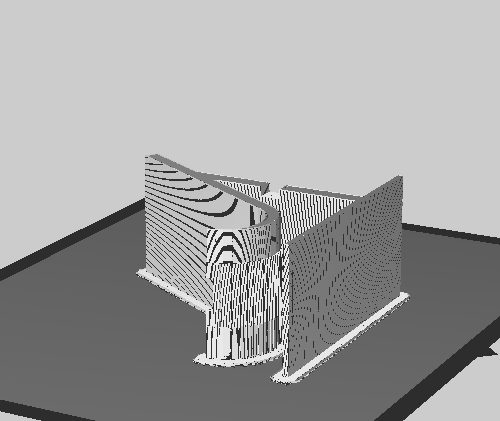
After I saved and finished up my design, I exported the file to MakerBot so I could get ready to print. The first image shows the initial design in the MakerBot software. After I rotated the design to make sure there were the least amount of supports possible, I scaled the design up to 1000%, making the second picture. After double-checking the measurements, I loaded the file onto a flash drive and got ready to print. The final picture shows my preview screen.
Using the Machine
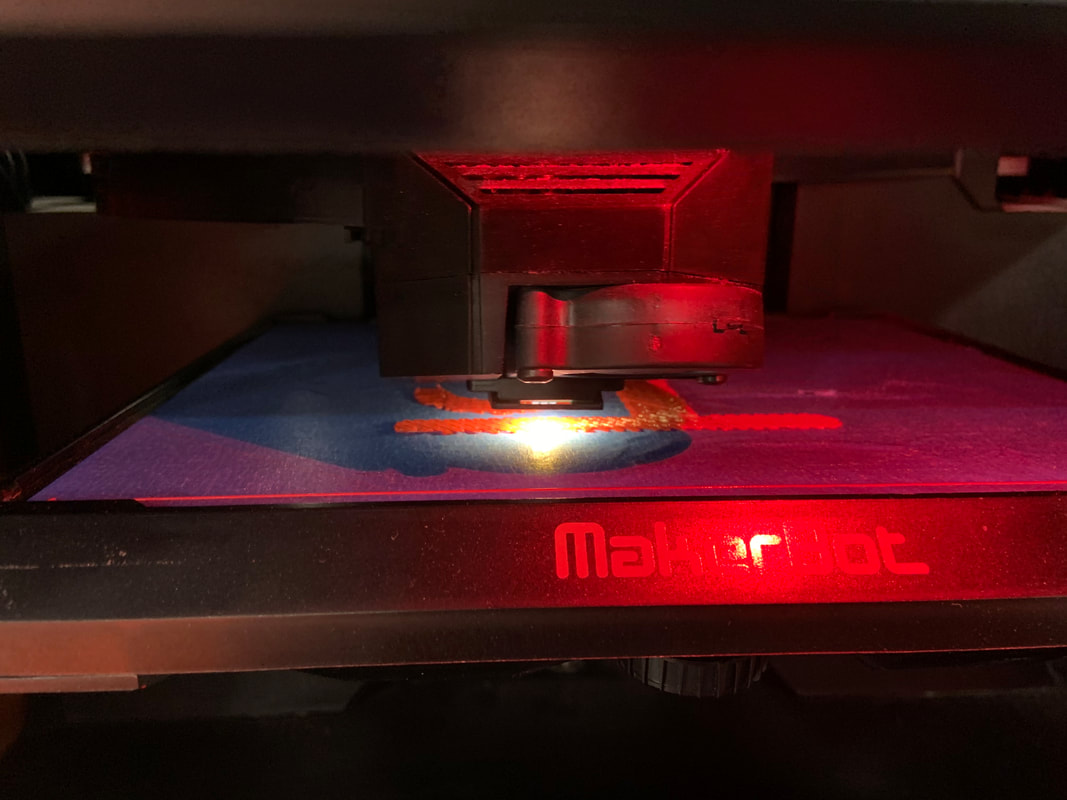
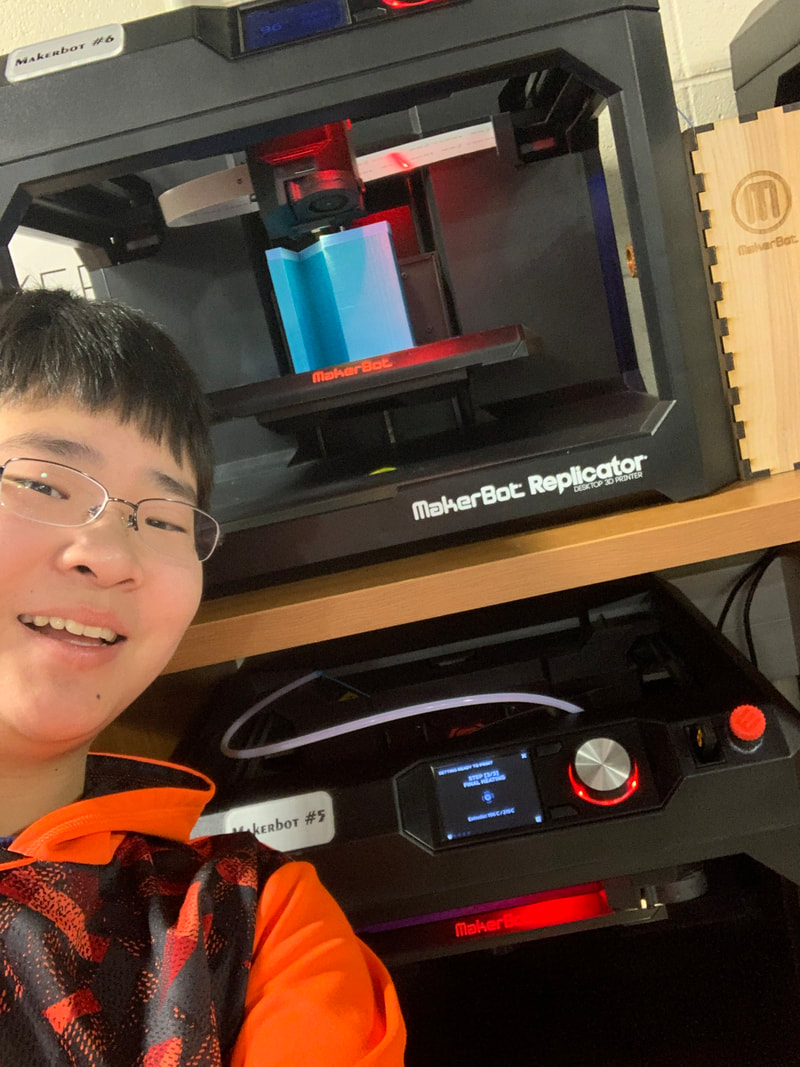
Using the MakerBot Replicator + machine was fairly easy compared to the designing earlier. I simply selected the file and waited with the machine to make sure the machine started up all right. Below are pictures of my design beginning to print, me taking a selfie with my design in the lower printer, and the final product in the machine.

Final Product and Reflection
|
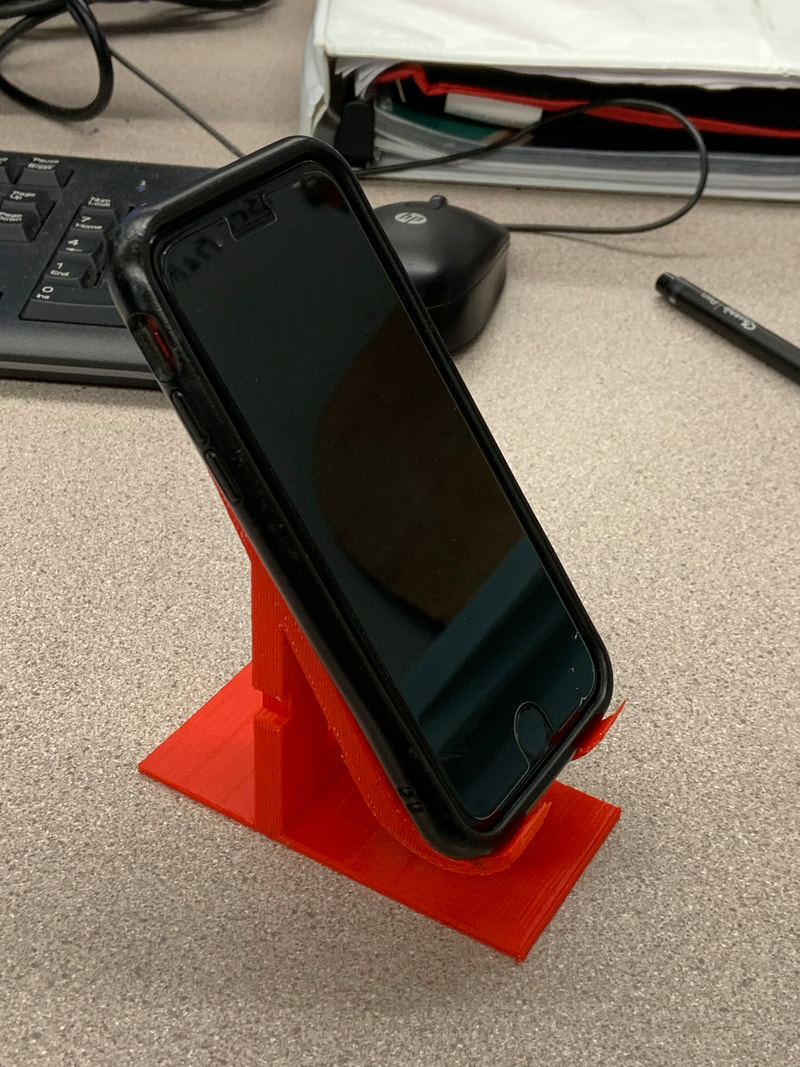
On the right is my phone holder holding a phone. It works fairly well, and I am quite proud of it. During this process, I learned many things, including further knowledge about Inventor. I also gained a deeper understanding of what human ingenuity can do. I was surprised to find that this project was easier than I thought it would be. This only goes to show that the human race has advanced much further than most people think, and will only continue to grow in the future. I hope that I don't forget this lesson so that I can use this as an example for the future, that with work, anything is achievable.
|
|
