On this page, I will be describing how I designed a notepad front and back cover, a design to put on a water bottle, and how I downloaded a blueprint into Illustrator from Thingiverse that could make a 3-D object.
Presearch
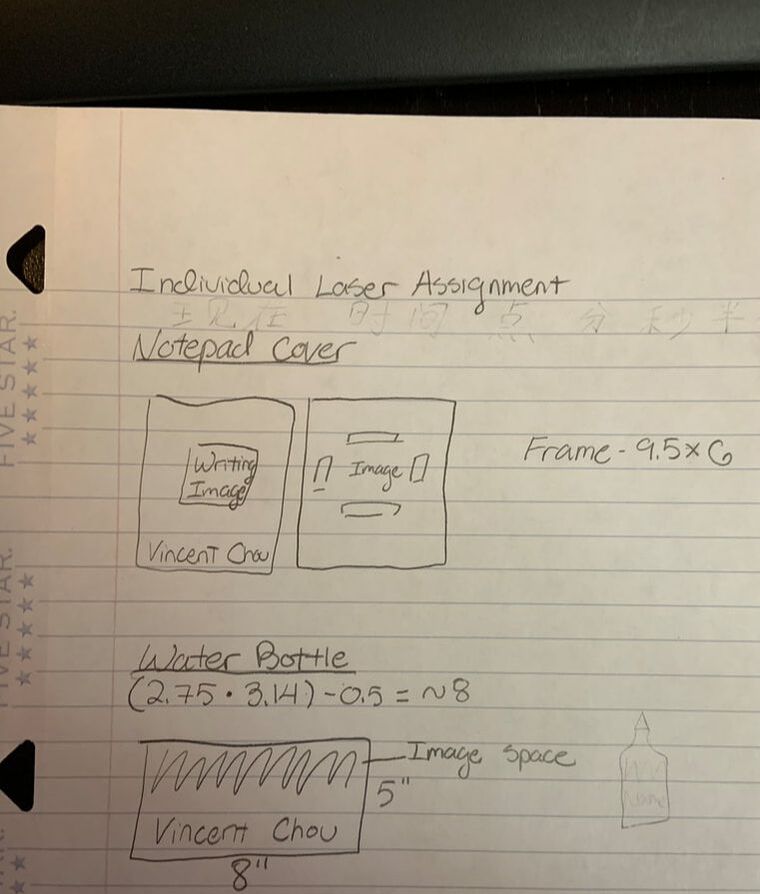
Because the individual laser project only needs images and a design to put on the outlines, There isn't much presearch to do. So, for the presearch, I just planned my design and put down some information that I needed to remember when designing the notepad and water bottle. There was obviously no presearch for the 3-D object as I just needed to download it from Thingiverse.
Notepad Cover
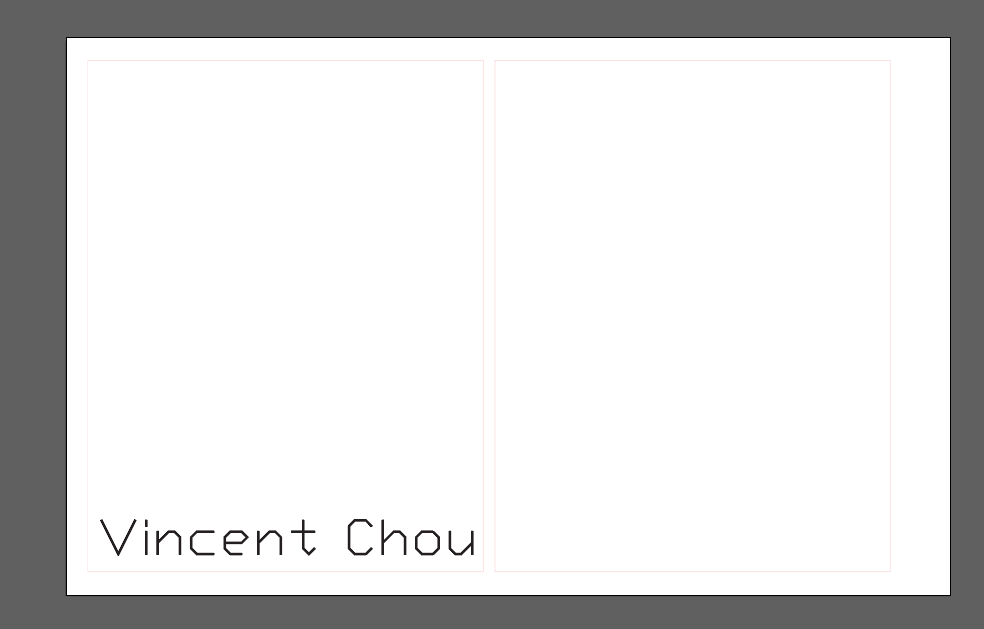
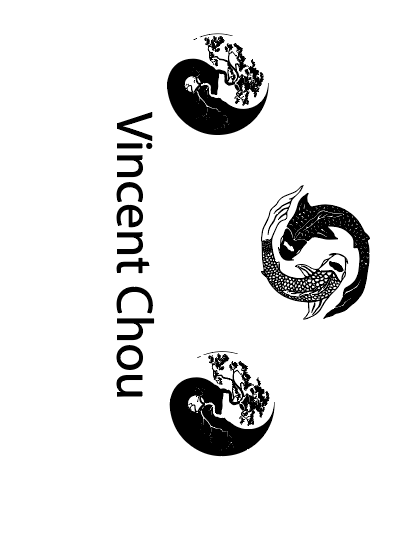
I started making my notepad covers by placing two rectangles 4.25 by 5.5 right by each other for the cover outlines. Then, I put in my name and found a font I liked. This resulted in the first picture. Because the covers were for a notepad, I decided to put an image of writing on the front cover. After changing the image into a vector image, I had reached the second picture. On the back cover, I decided to put a dragon. I also added cut out rectangles outlining the image to make the dragon even more obvious. I had reached the third picture and finished my notepad covers.


Water Bottle Design
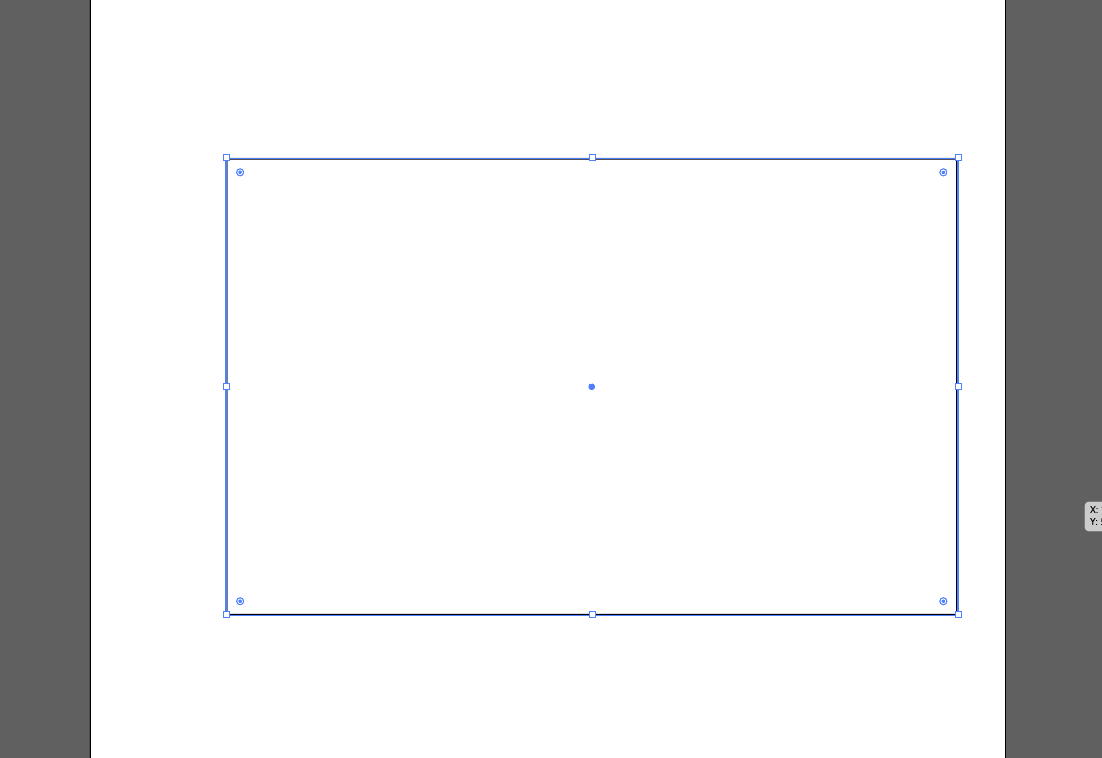
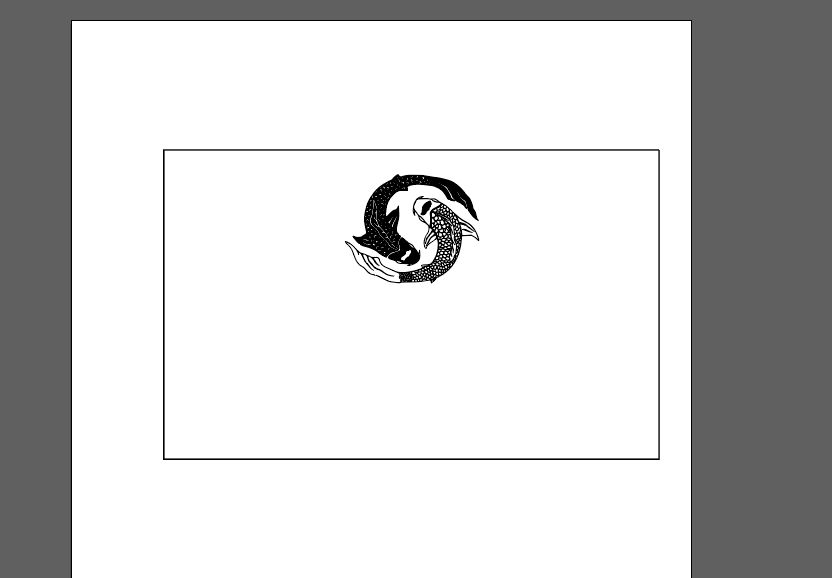
I started making my water bottle design by putting in the outline of what my constraints were based on the diameter and height of the water bottle. This was the first picture. I then decided to put symbols of balance on my water bottle. I put two koi fish into the rectangle, and after turning the image into a vector, I reached the second picture. After that, I put in two of an image and my name to fill up the space a little more. Finally, in order to make the design work with a bottle, I had to rotate the image 270 degrees.
|
|
|
3-D Object
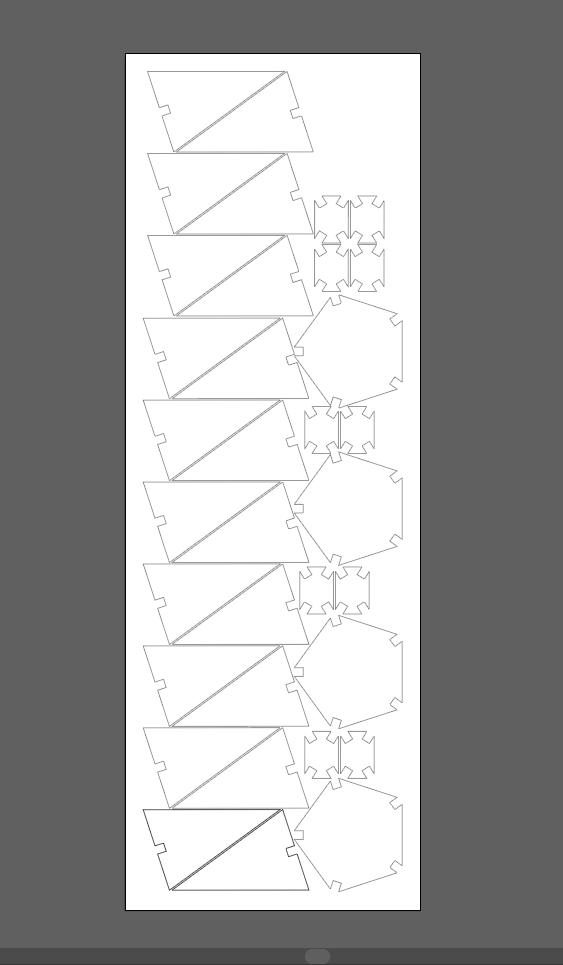
The 3-D object was quite easy because all there was to do was to browse Thingiverse and download it into Illustrator. After I found a cool design that made a fidget-type object that could work on Illustrator and be cut using a laser, I downloaded it. From there, it was simple to open it using Illustrator. Below shows the parts that I would use to make the object.
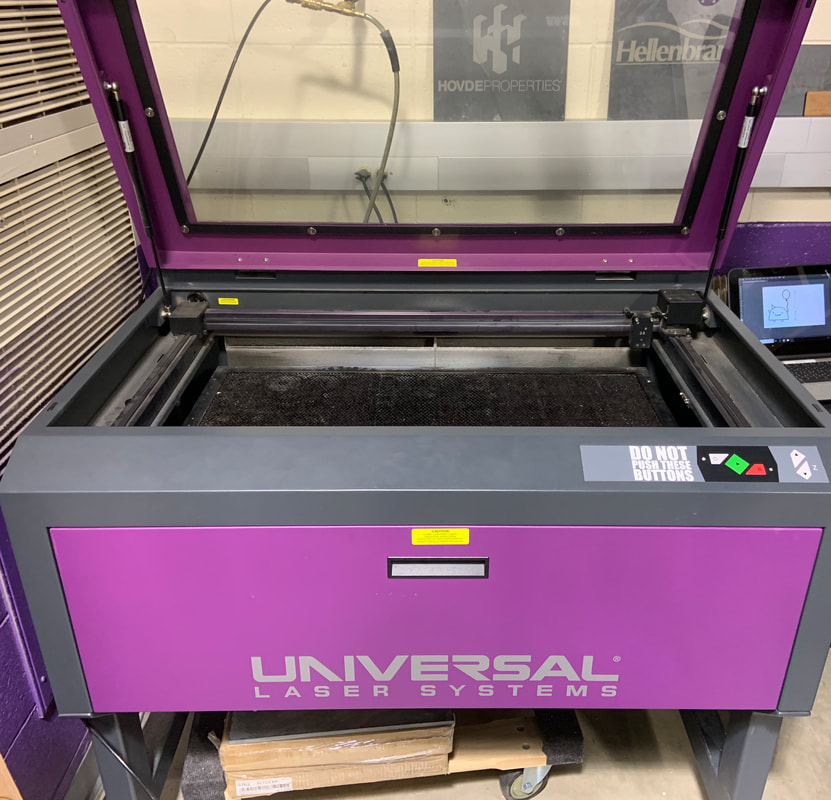
Using the Universal Laser Systems machine
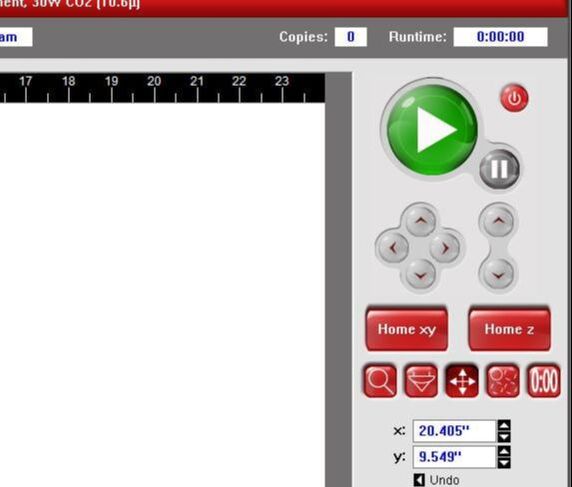
After you design things in Illustrator, you can transfer them into a hard drive and use that hard drive to laser cut and engrave them out. Below are pictures of the set-up screen and the machine. To make sure the machine is lined up with what it needs to engrave and cut, you would use the mouse on the computer besides the machine to click the corners of your design and check if the laser point matches in the laser bed.
|
|
Reflection
During this rotation, I learned a few things. I gained a more through understanding of Illustrator. This may benefit me in the future in case I come across Illustrator again. I also learned that you can create 3-D objects with a laser. While this may seem like a small piece of information, it was huge to me because it opened up another world for Illustrator and a laser. 2-D is huge, but to be able to make a 3-D object increases possibilities exponentially. The last thing I learned was that lots can be done from your home now. I learned this because I did the majority of this rotation at home. I realized that with a computer, so much is possible with the modern world of technology.
