What Is Illustrator?
|
Illustrator is a designing tool used for many machines including, but not limited to, a laser and a vinyl cutter. Illustrator uses vector graphics, meaning instead of pixels, it uses lines attached to points called anchors, and will always look detailed, no matter how much you zoom in. In 1985, Illustrator was designed for the Apple McIntosh, and has evolved into a worldwide tool for design. This software allows humans to turn their creativity into something tangible and real.
|
|
Keychain
In this 1st section, I will be showing how to use Illustrator to make a key chain. The machine we are using is the Universal Laser Systems. The laser can engrave with differing depths and even cut to form shapes and designs on plastic.
Illustrator
|
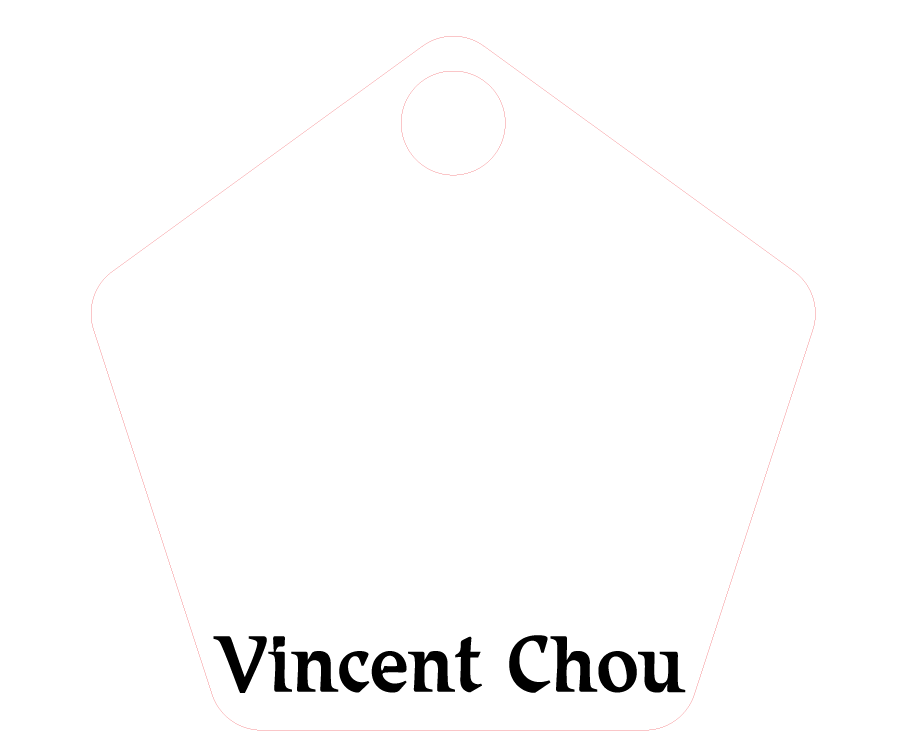
First, you'll want to design your key chain on Illustrator. Start with creating a new design. You can put a shape on the blank background with the rectangle tool, however, if you desire another shape, you can hold on the rectangle tool and select the polygon tool to draw a polygon. In this demonstration, we will be drawing a pentagon.
|

|
|
Next, we changed the fill and outline. On Universal Laser Systems, red means cut and black means engrave. So, we put no fill and cut out a small circle we drew on the polygon using the red color. Next, we wanted to put some text on the pentagon, so we wrote the text on the bottom of the pentagon. To make sure that the text would appear in the final printed product, we chose to outline it. This allowed the text to be engraved. However, once text is engraved, it will no longer be editable, so make sure that the text is exactly how you want it.
|
|
Finally, on this key chain, we placed a image. To do this, first find a black and white clip art. Make sure that this image is not a PNG as this is not compatible with the software we are using in this demonstration. copy the image and paste it into the Illustrator software. Zoom out to scale it down to fit the key chain. On the top of the screen, you'll see "Image Trace". Make sure to go into that, and select black and white. This allows the picture to look better as a vector, rather than a raster. Use the small box with bullet points in it to make changes to the tracing of your image. In order to use the laser, go into Advanced and click Ignore White. You can also edit the different options to make the image more clear. Once you're satisfied with your image, click expand in the top option bar. Then, save. You have now put the key chain into the drive you chose to save in.
|

|
Cutting and Engraving the Key Chain
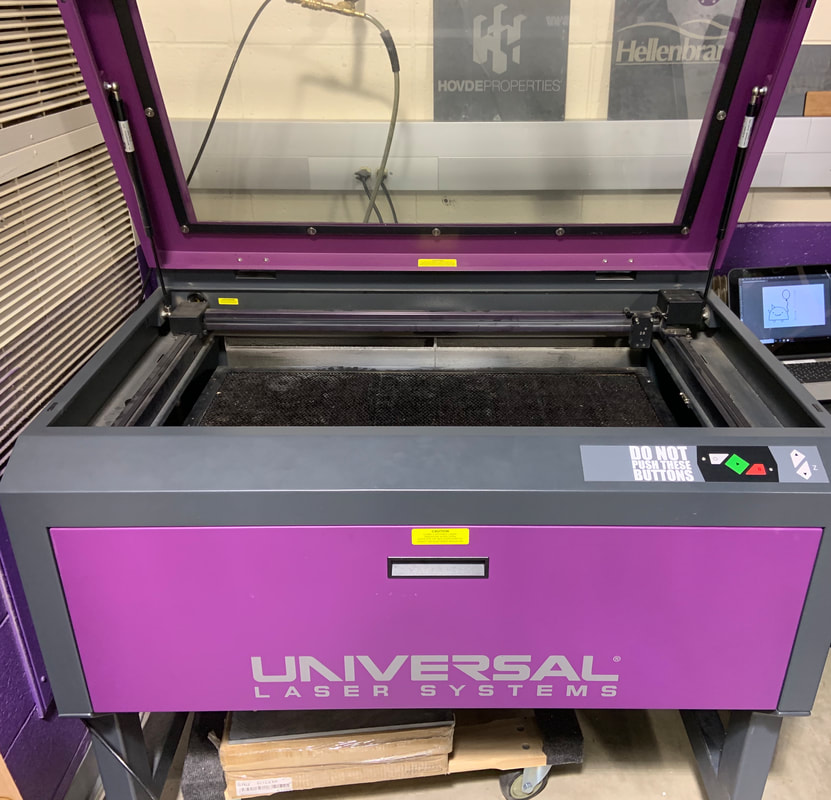
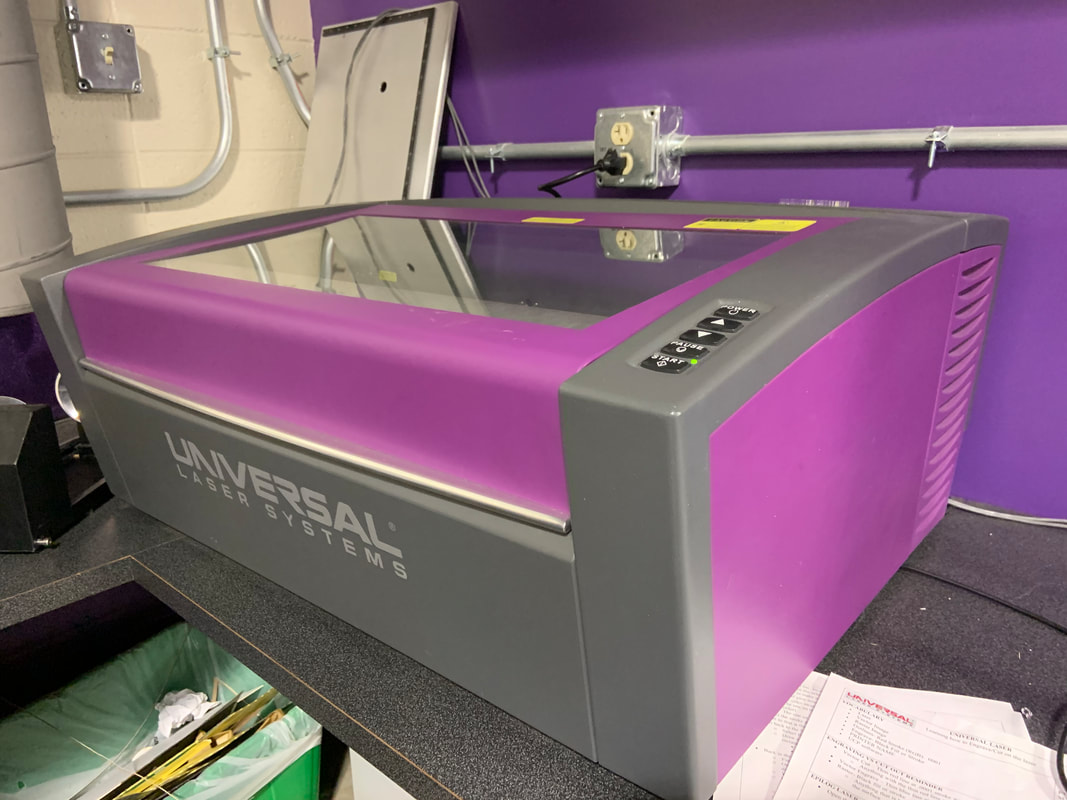
The laser machine we are using in this demonstration is the Universal Laser Systems Laser. Below are pictures of the laser machine.
|

|
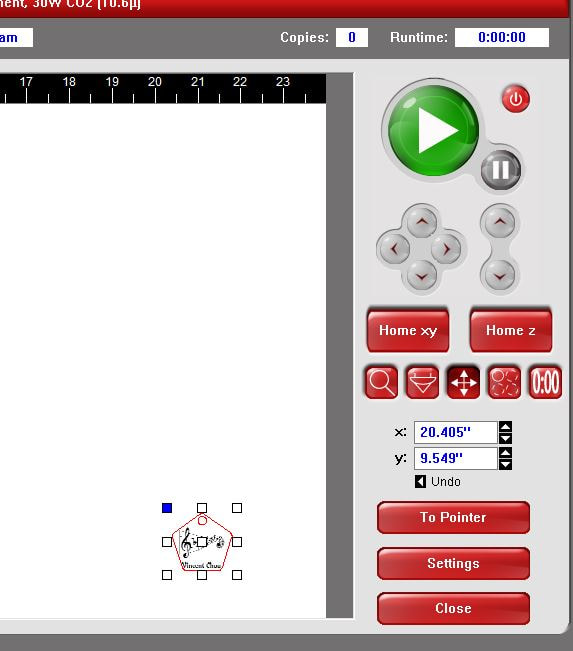
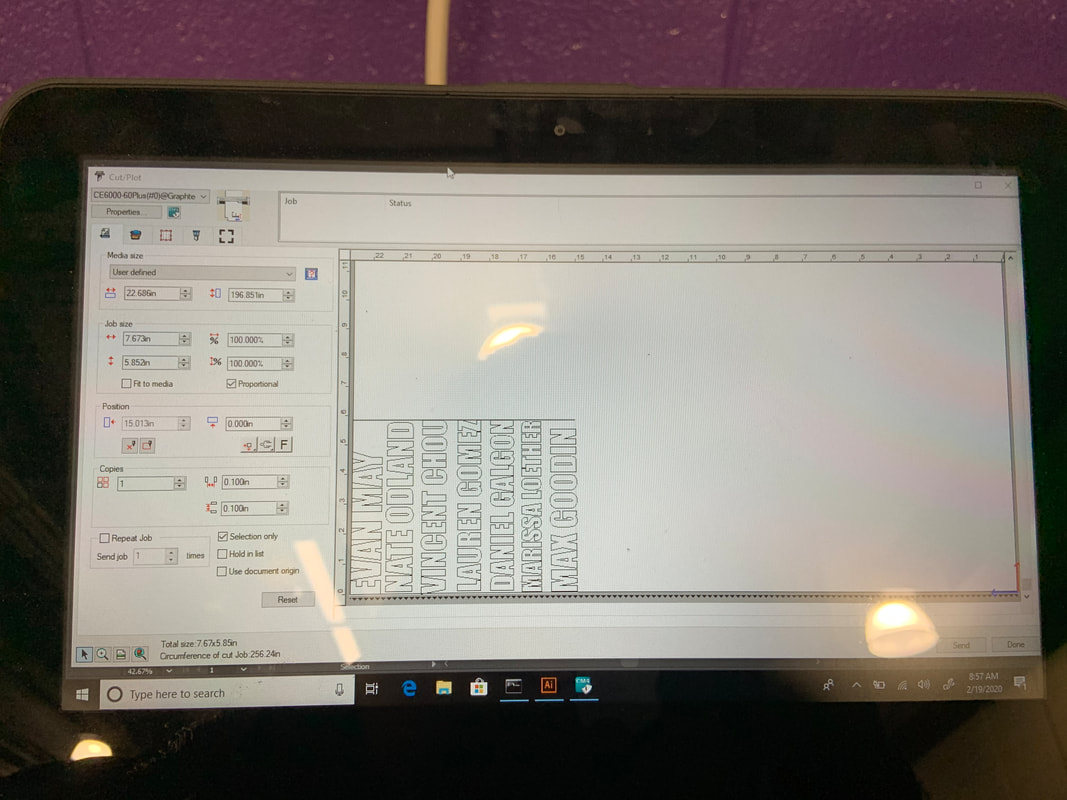
On the Illustrator file, go to File, Print, VLS6.60, Setup, and go to Preferences. Use the caliper to find the thickness and find the material. For this demonstration, we picked acrylic, extruded acrylic because we are using plastic. Click OK to exit. Open the UCP software on the desktop attached to the laser. Activate the exhaust, and put the material in the laser in line with the corner. Use the focus tool to move the laser to the material. Select the matching corners with the relocation tool. Go back to the focus tool and check the corners to make sure it matches up. Then, press the big green button. Before you press the big green button, your desktop should look like the image below.
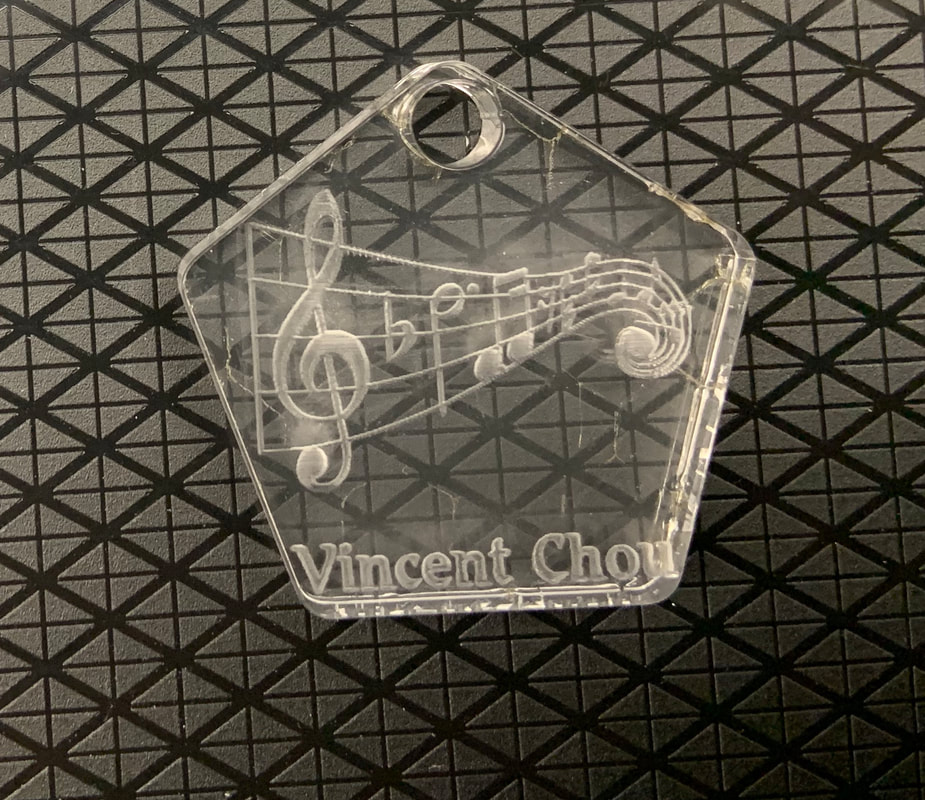
The below two images are of the key chain being cut out and the key chain finished.
|
|
Vinyl Cutter
In this demonstration we will be showing how to use a vinyl cutter by putting my vinyl name on a notebook.
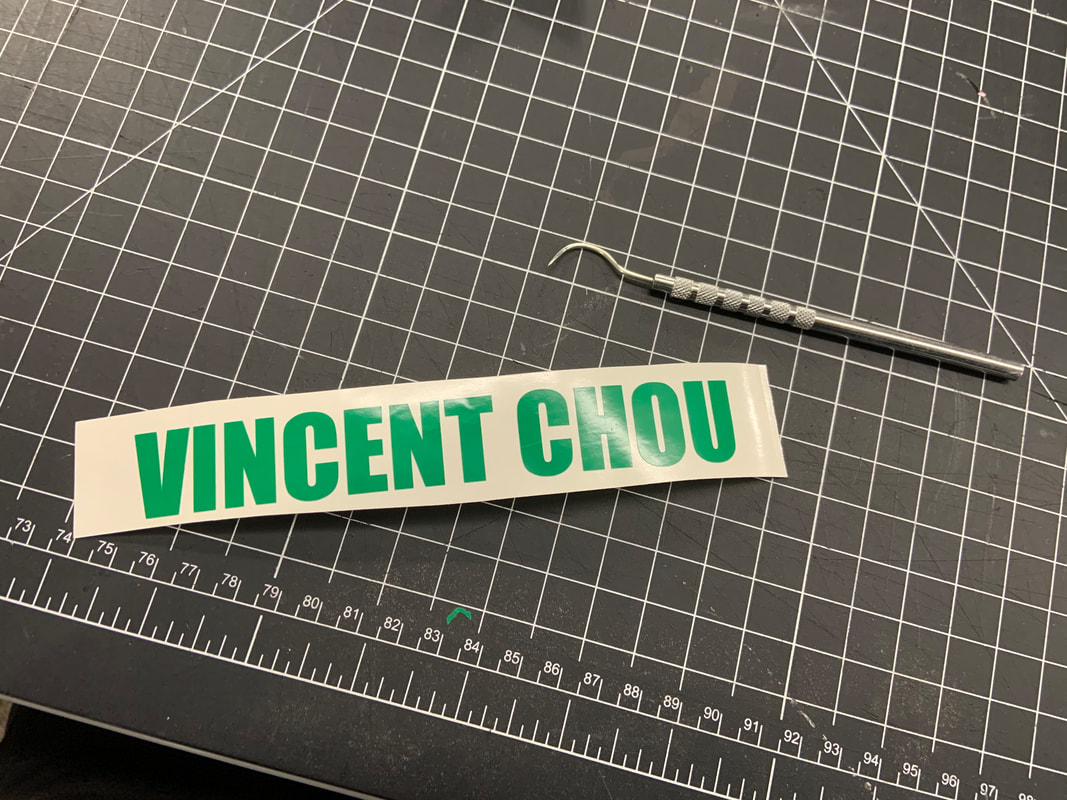
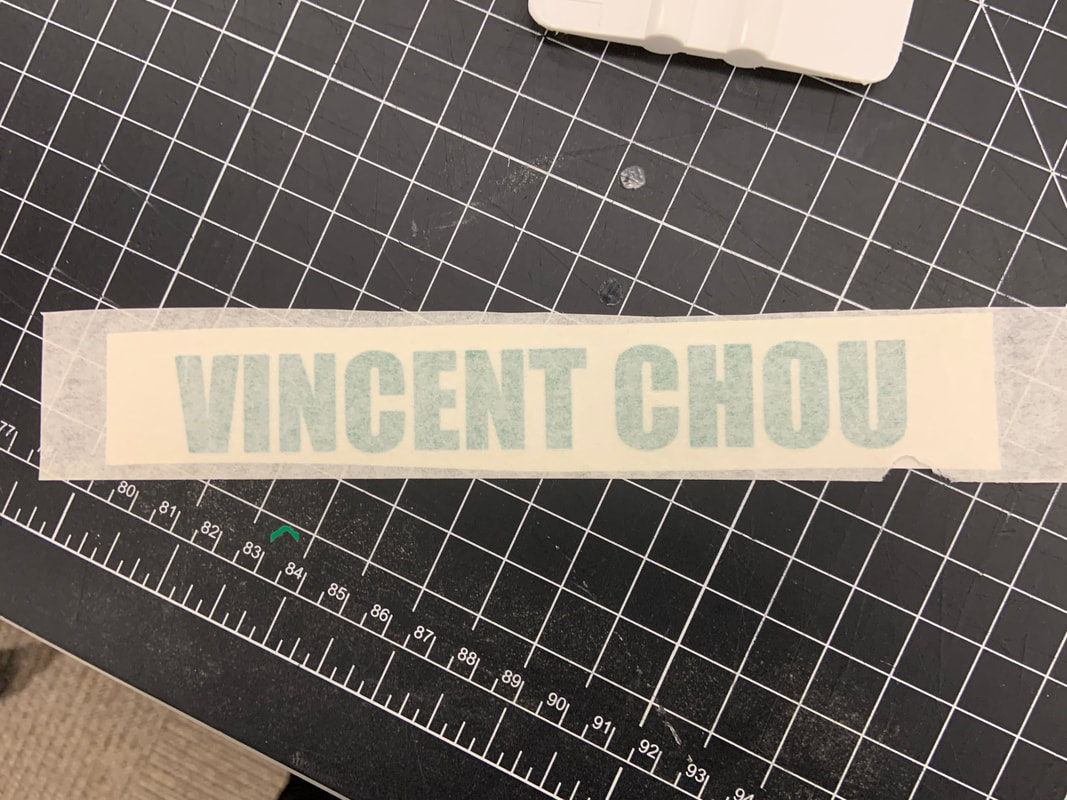
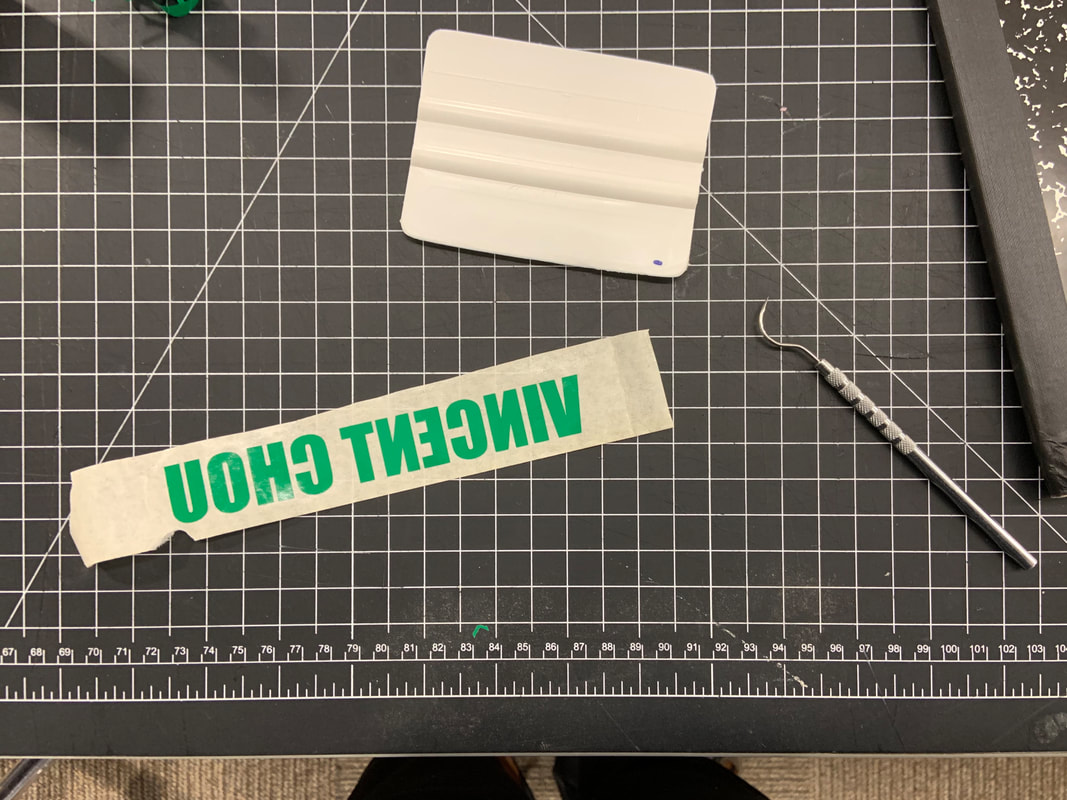
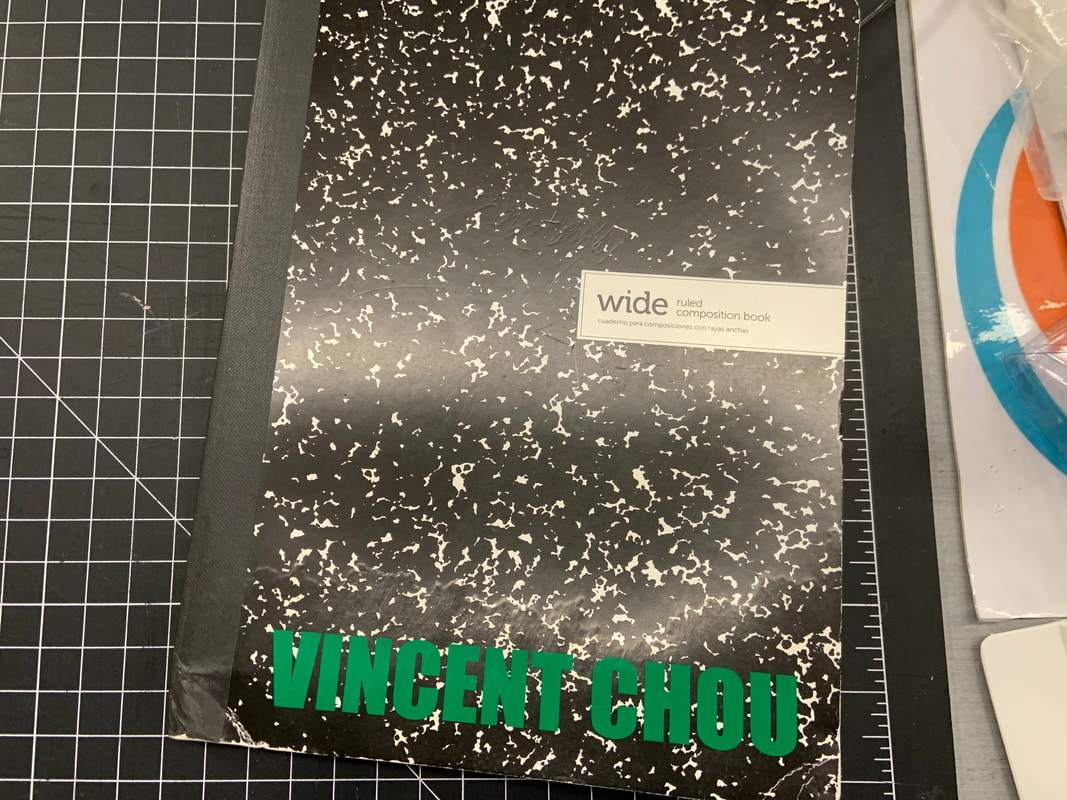
First, you have to go to Illustrator, making sure to put the correct dimensions. Then, type your name down. To make sure it is going to appear, put a outline around it. On the laptop, it should look like the first picture. Once the text is the correct dimensions, turn on the vinyl cutter and put in the sheet/roll of vinyl, moving the feet appropriately. Select the appropriate option and then click Cut Plot in Cutting Master. Check the media size to make sure it works and rotate it to minimize the amount of vinyl you use. It should look like the image below. Now, start cutting. Once you're done, cut out the section you want with knives and scissors. Weed the vinyl by peeling away the unwanted pieces with a sharp utensil. It should look like the second picture now. Take a strip of transfer tape and lay it so it covers all of the vinyl. Use a squeegee and push the tape onto the vinyl. It should look like the third picture now. When you feel like the vinyl is more applied to the tape than the plastic underneath, slowly peel the tape off. Use a dental tool or some other sharp implement to keep the vinyl on the transfer tape. It should look like the fourth picture now. Stick the vinyl onto the notebook, and squeegee that slightly. Peel off the tape slowly, again using the sharp implement to keep the vinyl on the notebook. You should end up with something like the 5th and final picture.
First, you have to go to Illustrator, making sure to put the correct dimensions. Then, type your name down. To make sure it is going to appear, put a outline around it. On the laptop, it should look like the first picture. Once the text is the correct dimensions, turn on the vinyl cutter and put in the sheet/roll of vinyl, moving the feet appropriately. Select the appropriate option and then click Cut Plot in Cutting Master. Check the media size to make sure it works and rotate it to minimize the amount of vinyl you use. It should look like the image below. Now, start cutting. Once you're done, cut out the section you want with knives and scissors. Weed the vinyl by peeling away the unwanted pieces with a sharp utensil. It should look like the second picture now. Take a strip of transfer tape and lay it so it covers all of the vinyl. Use a squeegee and push the tape onto the vinyl. It should look like the third picture now. When you feel like the vinyl is more applied to the tape than the plastic underneath, slowly peel the tape off. Use a dental tool or some other sharp implement to keep the vinyl on the transfer tape. It should look like the fourth picture now. Stick the vinyl onto the notebook, and squeegee that slightly. Peel off the tape slowly, again using the sharp implement to keep the vinyl on the notebook. You should end up with something like the 5th and final picture.
What I Learned
I learned many important things during this section of IDEA. I learned the basics of Illustrator and learned how to use a vinyl cutter and laser. I believe that these skills will help me at least once in the future because Illustrator seems to be a popular tool for designers around the world. If I don't use these skills in the future, I think that it was still valuable for me to go through this section to experience new things and understand that with modern technology, lots can be done.
